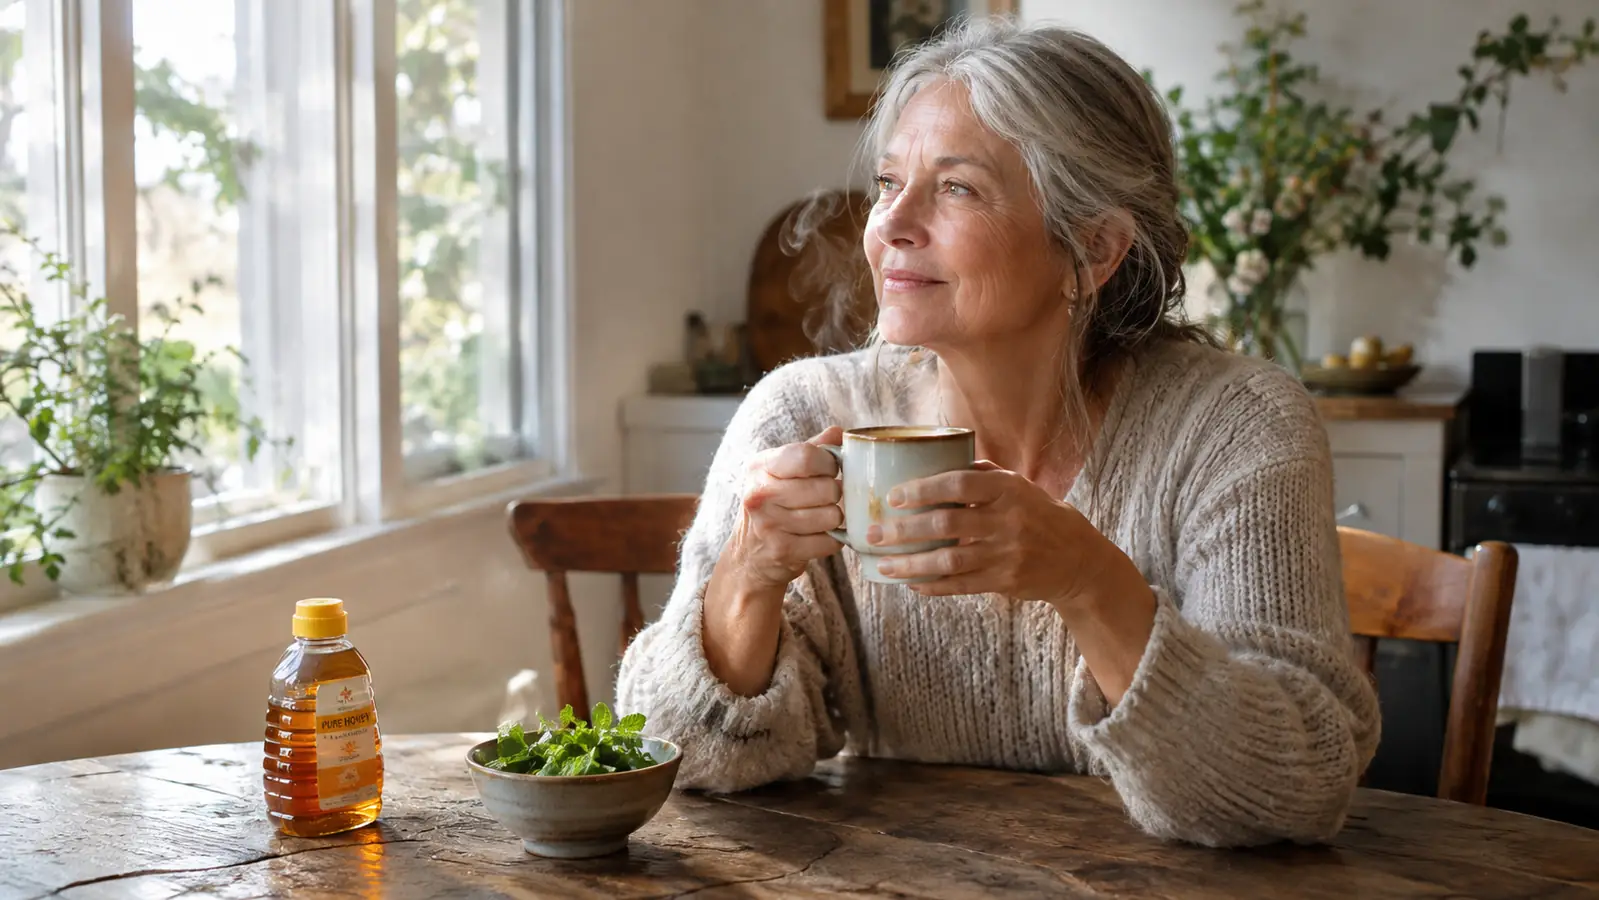
I started making honey and herb tea the way most people do, by pouring hot water over a tea bag and calling it done. Then my grandmother's voice came back to me, the one that said to reach for what grows in your own yard before you reach for anything else. Now, twenty years into keeping a kitchen garden and drying my own herbs, I have a method that works. It uses two things I always have on hand: herbs from my four raised cedar beds and a bottle of Nate's Honey that lives on my kitchen counter. This is how I actually do it at home, plain and simple.
If you have tried honey and herb tea and been disappointed, I understand. Store bought blends go stale before you finish the bag. Honey from a plastic bear tastes like nothing at all. And most instructions online make the whole thing feel like a chemistry experiment. It does not need to be that way. The point is to make a cup that tastes good and helps you slow down, not to impress anyone. So I am going to walk you through the method I use, from picking the herb to finishing the cup, and I will tell you the small mistakes I made along the way so you can skip them.
Start with a honey you can actually taste
A raw, unfiltered honey like Nate's Honey brings its own floral notes to the cup. That matters more than you think, because the honey is half the flavor.
Amazon Check Today's Price on Amazon →What You Need
Here is the whole list: a mug, a tea ball or cloth bag, loose leaf herbs, water, and honey. That is it. You do not need a special kettle, though I do like mine. You do not need a thermometer, though I own one. The ingredients matter more than the equipment. If you are starting from scratch, buy one herb you love, one jar of Nate's Honey, and make the same cup every day for a week. By the end of the week you will know exactly how you like it, and that knowledge is worth more than any gadget.
Use filtered water if your tap water has a strong taste. Tea is mostly water, and if the water tastes like chlorine, the tea will too. I use a simple pitcher filter, and it made a noticeable difference in every cup I make.
How I Make It, Step by Step
Step 1: Choose an herb that suits the moment
The first question is not which herb is best. It is what kind of cup you want. Peppermint from my garden is my go to after a heavy meal. Chamomile is what I reach for in the evening, especially in the fall when the nights get cool. Lemon balm is the one I use on a tense afternoon. Calendula, thyme, rosemary and sage all have their place, but for everyday tea I keep it to the three I grow the most: peppermint, chamomile and lemon balm.
If you are buying herbs instead of growing them, look for whole leaf herbs rather than powder. Whole leaves keep their oils and their flavor much longer. And smell before you buy. A bag of chamomile should smell like apples and hay, not dust. If it does not smell like much, it will not taste like much either.
One more thing. If you are on medication, pregnant, or making tea for a child, check with your doctor before you start drinking herb teas regularly. I say this every time because it matters. Herbs are gentle, but they are not nothing.
Step 2: Use fresh or dried, and measure loosely
Fresh herbs are wonderful in summer. I pick a good handful, rinse it, and bruise the leaves between my fingers to release the oils before they go in the cup. Dried herbs are what I use most of the year, and they are easier to measure. For a single mug I use about one teaspoon of dried herb, or one tablespoon of fresh. That is a starting point, not a rule. Some herbs, like peppermint, are forgiving. Others, like sage, can turn bitter if you pile them on.
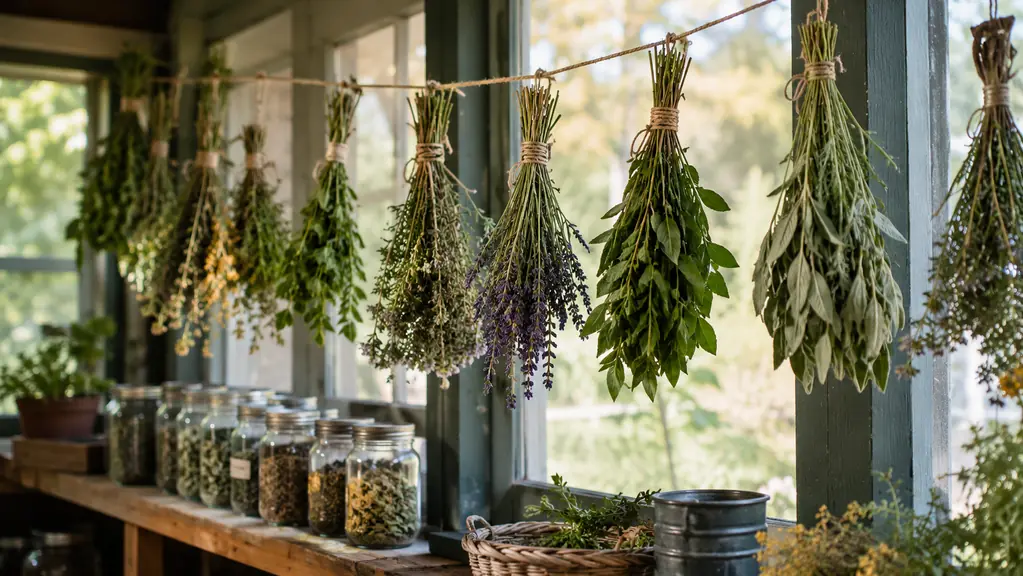
I dry my own herbs on the enclosed back porch, hanging them in small bundles away from direct sun. When they are dry enough to crumble, I strip the leaves into glass jars and label them with the year. Dried herbs lose their strength after about a year, so I make smaller batches and restock each season. That habit has done more for my tea than any special teapot ever did.
One mistake I made early was using tea bags. Tea bags are convenient, but the leaves are chopped fine, which means they steep fast and turn bitter. Whole leaf herbs in a tea ball take a little longer but taste brighter. I made the switch and never went back.
Step 3: Heat the water to the right temperature
This is the step most people skip, and it is the one that separates a good cup from a bitter one. Boiling water is too harsh for most leaves. It scalds them and brings out the bitter notes. I let my kettle cool for a minute or two after it boils, until the water is steaming but not rolling. If you do not have a thermometer, that is fine. The old test works: the water should be too hot to sip but not so hot that it burns your finger instantly. That is roughly where I want it.
The exception is when I am using a tougher herb like rosemary or thyme. Those can take water straight off the boil. But for peppermint, chamomile and lemon balm, the gentler water makes a sweeter, rounder cup. It is a small change that costs nothing and changes everything about the result.
If you want to be precise, I use about 190 degrees for most leaves. But I rarely use the thermometer anymore. The cool for a minute test works just as well. What matters is that the water is not roaring boiling when it hits the leaves.
Step 4: Steep, then sweeten with honey
Pour the hot water over the herb and let it steep. I cover the mug with a small saucer while it steeps, because the volatile oils that carry the flavor escape with the steam. Three to five minutes is plenty for most leaf teas. Longer does not mean stronger in a good way. It means more bitter. Taste at three minutes and decide for yourself.
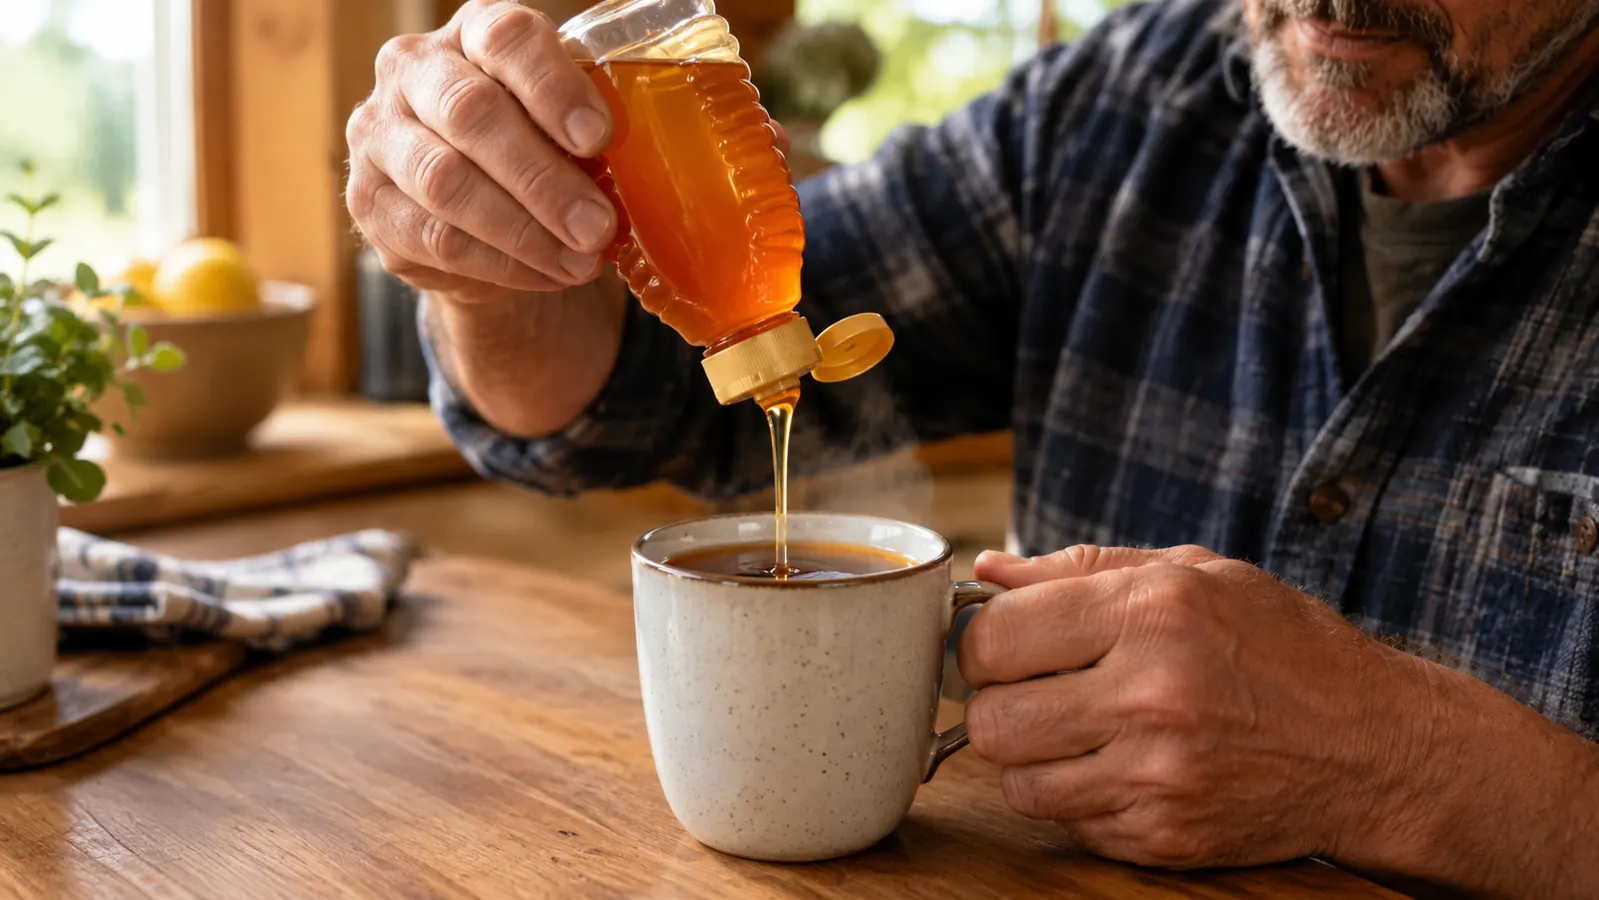
Here is where the honey comes in. I add honey after the tea has cooled just enough to sip, never to boiling water. Boiling water can destroy the delicate enzymes and aromatics in raw honey, and it also makes the honey vanish into the steam instead of staying in the cup. A teaspoon of Nate's Honey is my usual amount. I stir, taste, and add another half teaspoon only if the tea needs it. Because Nate's Honey is raw and unfiltered, it has its own flavor, sometimes floral, sometimes almost woodsy, and that flavor is part of the tea.
On a chilly evening, a spoonful of honey in a mug of herb tea is a comfort that has been around far longer than I have. My grandmother kept a honey jar beside the kettle all winter, and I do the same. It is a cozy habit, not a medicine, and if you feel unwell for more than a few days, call your doctor. I will also tell you what she told me: do not give honey to a baby under one year old, and if you are managing diabetes, talk to your doctor about how much honey fits your day.
Step 5: Make it a ritual, not a chore
The last step has nothing to do with technique. It is about giving yourself the ten minutes. I pour the tea, sit at the butcher block table, and do not look at my phone. The ritual is half the remedy. A cup made this way, with herbs you grew or chose yourself and honey you can taste, slows the whole afternoon down.
I keep a small basket on the counter with my most used jars and the honey bottle, so making tea is a two minute decision rather than a treasure hunt. When the basket is organized, I actually make the tea. When it is not, I reach for something else. That is the honest difference between a habit and a good intention.
The other thing I do is make a big pitcher of cold honey and herb tea in summer. I double the herbs, steep them in a quart jar, strain, and stir in a few spoonfuls of Nate's Honey while it is still warm. Then I keep it in the fridge. It is the drink I reach for when I come in from the garden.
My Favorite Combinations
Peppermint and lemon balm together is the cup I make most often in the afternoon. The peppermint wakes you up, the lemon balm smooths the edges. I use about half a teaspoon of each and a teaspoon of Nate's Honey. Another favorite is chamomile with a sprig of fresh thyme in the evening. The thyme sounds strange, but it adds a quiet, savory note that makes the chamomile taste sweeter. On the coldest nights of the year, I make ginger tea with a thick slice of fresh ginger simmered for ten minutes, then strain it and add honey and a squeeze of lemon. That one is as much about the steam as the sip.
These are not recipes to follow exactly. They are starting points. The fun of making tea at home is that you can adjust every cup. More honey, less honey, a longer steep, a different herb. I keep a small notebook on the butcher block table, and I write down what I did when a cup comes out especially good. That notebook is the only tea book I trust.
What Else Helps
A few things make the whole routine easier. A simple mesh tea ball or a reusable cloth bag keeps the leaves out of your teeth. A kettle with a gooseneck spout pours gently, which matters more than you would think. And a small notebook, the kind you keep in the kitchen, is where I write down which combos I liked and which ones I will not repeat.
One more helper: keep your dried herbs in a dark cupboard, not on a sunny windowsill. Light fades both the color and the strength. I learned that the hard way when a jar of lemon balm turned pale and tasteless after one summer on the sill. Now everything lives in the pantry, and the tea tastes the way it did the day I dried it.
If you want to branch out, try adding a slice of lemon or a small piece of orange peel to the cup while it steeps. Citrus and honey are old friends. I also keep a jar of dried ginger on hand for the days when I want something with a little heat. Ginger, lemon, and a spoonful of Nate's Honey is the cup I make when I want to feel like I am taking care of myself.
Add the honey after the tea cools to a sip, and you will taste the difference in the very first cup.
Keep a bottle of Nate's Honey on the counter
Once you start making honey and herb tea at home, you will go through honey faster than you expect. A 32 ounce squeeze bottle of Nate's Honey lasts me about a month of daily cups.
Amazon Check Today's Price on Amazon →