
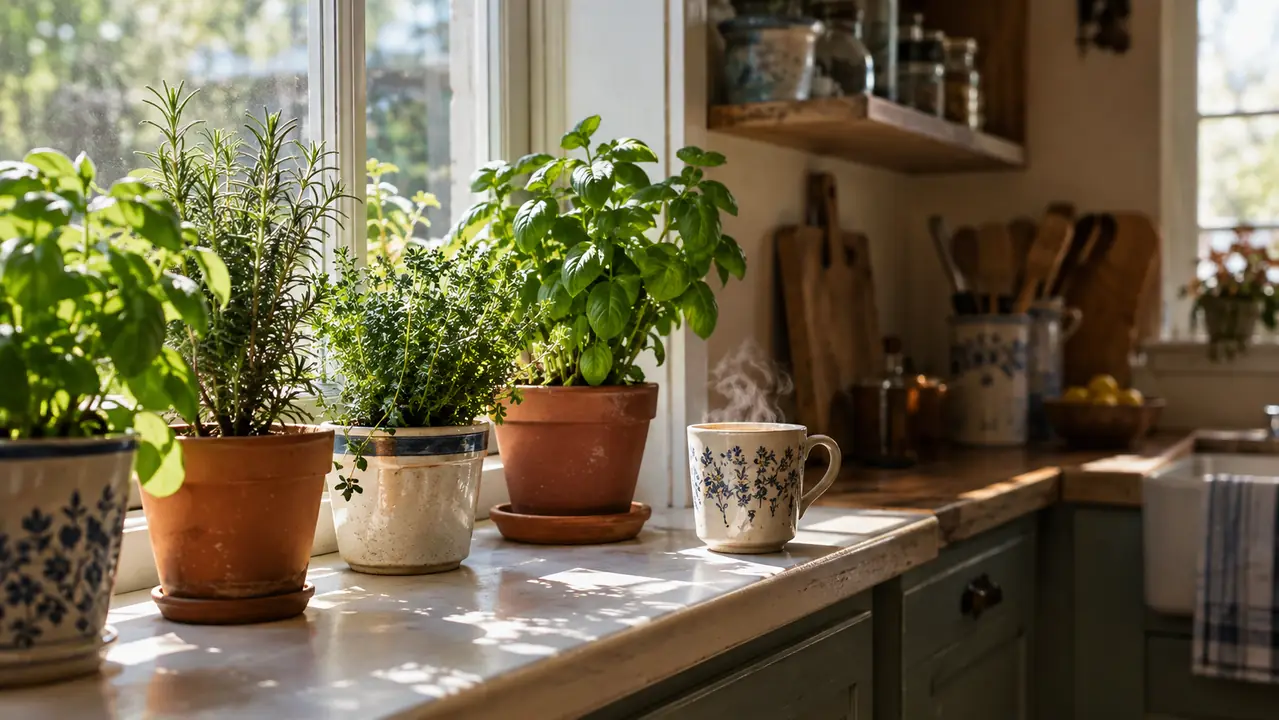
I'm Marlene Hutchins. I'm 63 years old, I live in the Shenandoah Valley of Virginia, and I've been growing kitchen herbs for about 20 years. I learned most of what I know from my grandmother, who kept a row of clay pots on her kitchen windowsill all winter. These days I have four raised cedar beds of peppermint, lemon balm, chamomile, calendula, thyme, rosemary, and sage beside the back porch, but I still start herbs indoors every year. If you want fresh herbs for tea and cooking without a greenhouse or a rack of grow lights, an indoor herb garden is within reach. The Planters' Choice 9 Herb Indoor Window Garden Kit is the one I point friends to when they want to start without a lot of guesswork.
Here is the honest part. You can absolutely gather your own pots, seed-starting mix, and seed packets. I do that for my outdoor beds. But for a first indoor garden, a kit removes most of the decisions that trip people up. It tells you which herbs grow well together, gives you the right number of pellets, and fits on an ordinary windowsill. That matters more than you think in January, when the light is weak and your motivation is thin. The kit is not magic. It is just a tidy way to get the same result I get with my own trays and bags of mix, and it is the easiest place to begin.
Start with a kit that takes the guesswork out of your first season
The Planters' Choice 9 Herb Indoor Window Garden Kit includes nine herb seeds, peat pellets, and a tray sized for a kitchen windowsill. It is the same basic method I use to start seedlings indoors, without the extra shopping.
Amazon Check Today's Price on Amazon →Step 1: Choose your spot and check the light
Before you open anything, look at your windows. Herbs need light more than anything else. A south-facing window is ideal. An east-facing window that gets morning sun can work too. Count the hours: you want at least four to six hours of direct sun in winter. If your only window faces north, do not despair. You can still grow herbs, but you will likely want a small grow light to stretch the daylight hours.
Keep the spot away from cold drafts and heat vents. A kitchen windowsill over the sink is a classic choice because you are already there every day, and the steam from cooking and washing dishes gives the air a little humidity. I keep my winter herbs on the sill above the butcher-block table, where I can see them while I dry and bottle the summer harvest. Seeing them every day is half the battle. Out of sight means forgotten, and forgotten means dry soil and sad leaves.
If you have a spare shelf in a warm room, that works too. The important thing is that the spot is easy to reach. When the pellets need water, you want to notice without making a special trip. I have killed more seedlings from neglect than from cold, and every one of those deaths started with a pot I could not see.
Step 2: Set up the kit or gather your own supplies
The Planters' Choice kit comes with nine herb seeds, peat pellets, and a tray sized for a windowsill. The varieties are chosen for the kitchen, with a mix of cooking herbs and tea herbs. I like that the kit does the thinking about which herbs grow well together. You do not have to wonder whether the basil will crowd the thyme, because the kit is designed for a small space.
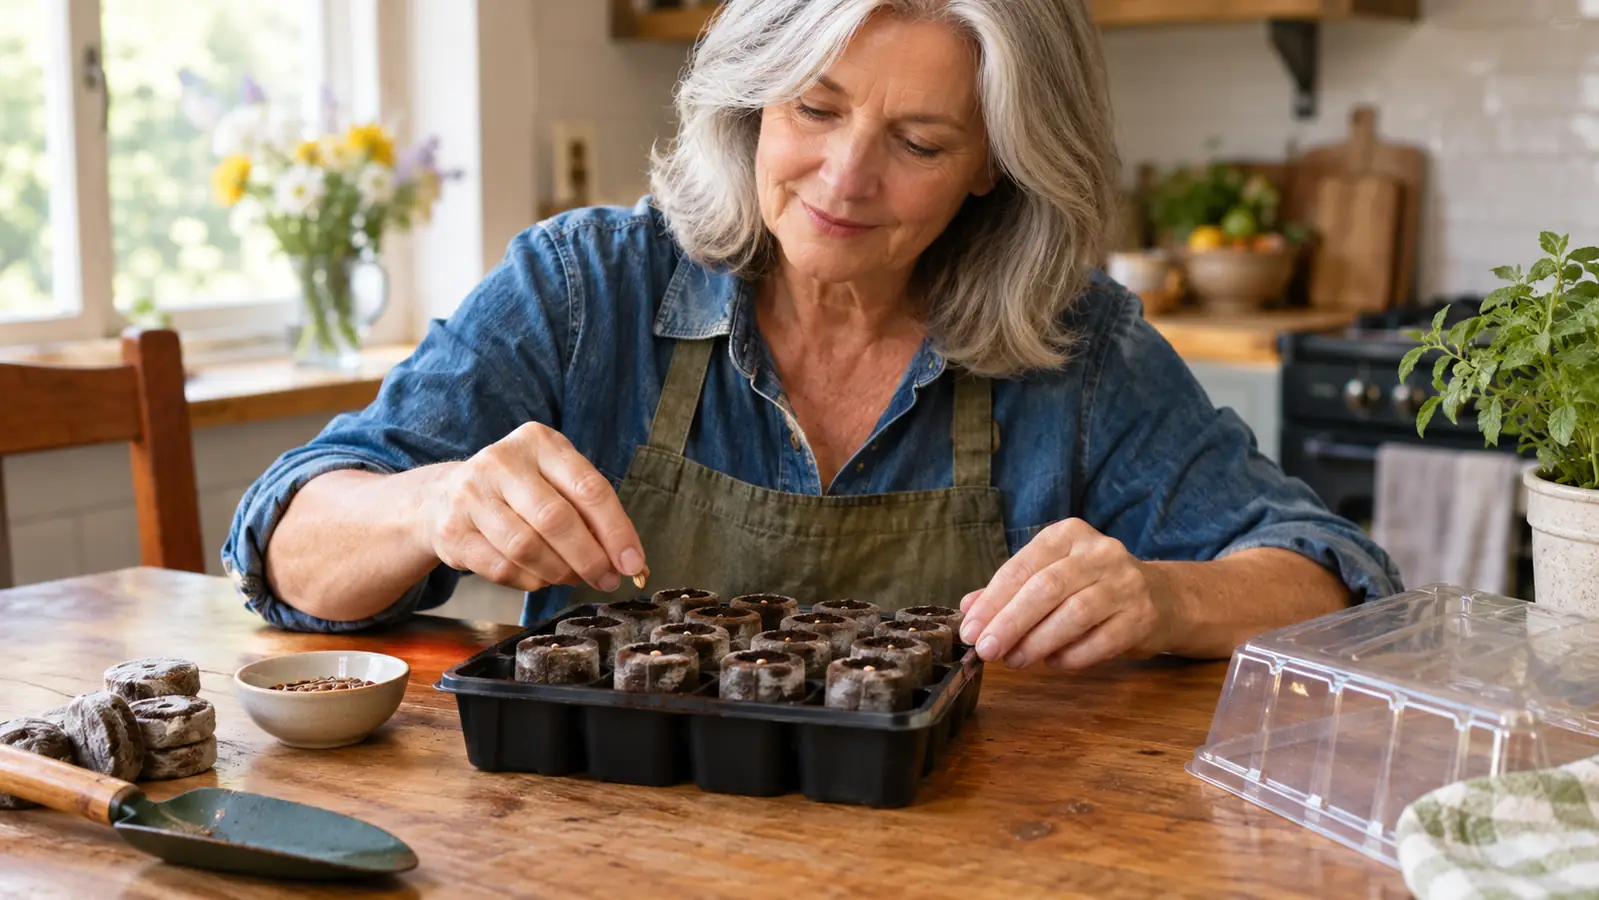
Peat pellets look like small, flat coins. You put them in the tray and add warm water, and they swell into little pots of moist growing medium. Give them about ten minutes to absorb the water. Fluff the top of each pellet gently with a fork or your finger so the surface is loose. That loose surface is what the tiny seeds need. If you are gathering your own supplies, the same rules apply. Use a clean tray with drainage, a light seed-starting mix, and small pots about two inches across.
Label everything. I use wooden popsicle sticks and a permanent marker, because every herb looks the same at day three. Basil, oregano, and thyme all send up the same two little round leaves, and you will not remember which is which by the time they are an inch tall. The kit labels each variety, which is a small thing that saves you from guessing later.
Step 3: Plant the seeds at the right depth
This is the step where most beginners go wrong. Herb seeds are small, and small seeds do not want to be buried. A good rule of thumb is to press the seed gently into the surface of the pellet and then sprinkle a tiny pinch of the loose mix over it, no deeper than the seed is wide. Some seeds, like thyme, need light to germinate, so leave those right on the surface.
Read the little label that comes with each packet before you plant. The kit labels each seed variety, which is a small thing that saves you from guessing. Plant two or three seeds in each pellet to give yourself a margin, then thin to the strongest seedling later. Thinning sounds harsh, but it is the difference between one sturdy plant and three spindly ones. When you thin, snip the extra seedlings at soil level with small scissors. Pulling them up can disturb the roots of the one you are keeping.
After you plant, mist the surface with water so you do not wash the seeds down. Then cover the tray with the clear dome that comes with the kit, or with a loose piece of plastic wrap. The cover holds in humidity while the seeds germinate. Set the tray in the spot you chose in Step 1 and wait. Most of the herbs in the kit will sprout within five to fourteen days. Some, like parsley, are slower, so do not give up on a pellet just because nothing has happened in the first week.
Step 4: Water and care for the first few weeks
For the first week, your job is mostly to keep the pellets evenly damp. Check them every morning. The surface should feel like a wrung-out sponge, not a puddle. If you see water standing in the tray, pour it out. Soggy mix is the fastest way to kill seedlings. It rots the stems at soil level, and there is no coming back from that.
Once the first green shoots appear, take the dome off. This is also the time to move the tray to the brightest window you have. Seedlings that do not get enough light get leggy, meaning they stretch toward the window and fall over. If you see that happening, add a grow light or move them somewhere brighter. A leggy seedling can sometimes be saved by planting it a little deeper when you repot, but it is better to prevent the stretch in the first place.
Water from the bottom when you can. Pour a little water into the tray and let the pellets soak it up. This keeps the surface dry enough to discourage damping-off, which is a fungus that topples seedlings overnight. I lost a whole flat of basil to it one spring, and I have never watered from the top since. If you do see a seedling fall over with a thin, pinched stem, remove it right away so the fungus does not spread to its neighbors.
Step 5: Harvest and use your herbs for tea and cooking
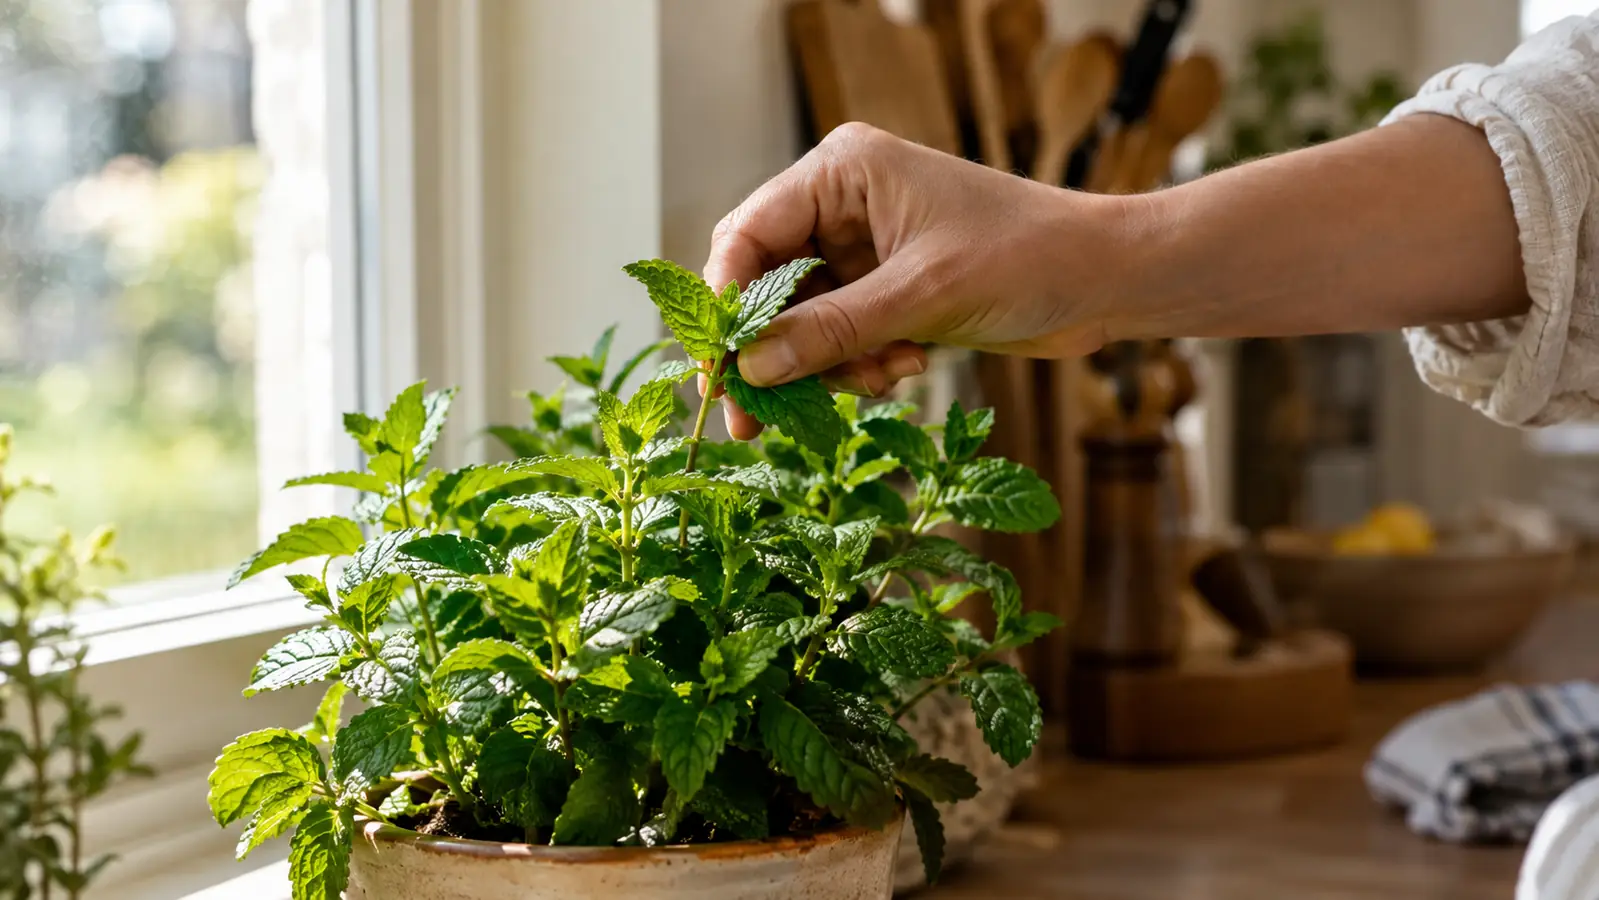
You can start harvesting when the plants have several sets of true leaves. True leaves are the second pair that appears, and they look like the adult leaf of that herb. Before that, the seedlings are too young to pinch. When the time comes, use clean scissors and take no more than a third of the plant at once. Taking more than that shocks a young plant and slows it down.
Pinch back basil and oregano above a pair of leaves, and they will branch out into bushier plants. Harvest in the morning, after the dew dries, when the essential oils are strongest. Rinse the sprigs and pat them dry. Use them right away in cooking, or hang them in small bundles on the enclosed back porch to dry for tea. Dried herbs keep their flavor for about a year if you store them in a jar out of direct light.
For tea, peppermint and lemon balm are the easiest. Pick a few leaves, bruise them with your fingers, and pour boiling water over them. Steep for five minutes. Chamomile flowers take a little longer to produce, but the dried flowers make the mildest bedtime tea I know. Cooking herbs like thyme, rosemary, and sage go straight from the pot into soups, roasted vegetables, and scrambled eggs. Once you taste the difference, you will understand why I have done this for twenty years.
Common Mistakes and How to Avoid Them
The biggest mistake I see is overwatering. New gardeners love their seedlings to death. They water every day because the surface looks dry, but the pellet underneath is still wet. Stick your finger into the pellet up to the first knuckle. If it feels damp, wait a day. If it feels dry, water. That simple test has saved more seedlings than any other piece of advice I can give.
The second mistake is starting too late. Herbs take six to eight weeks from seed to a size you can harvest. If you want basil for summer cooking, start it in late winter. If you want a steady supply of tea herbs through the cold months, start a new tray every few weeks so you always have young plants coming along. I keep a small notebook with planting dates, and it is the most useful tool in my kitchen.
The third mistake is expecting every seed to sprout. Even with good seed, germination rates are rarely one hundred percent. That is why I plant two or three seeds in each pellet. If you end up with empty pellets, that is not a failure. It is a reason to plant a little more seed next time. The kit gives you enough to try again.
What Else Helps
A few extras make the difference between a garden that survives and one that thrives. A small grow light helps if your window is weak. A slow fan on low keeps air moving and strengthens stems. Once the seedlings have their second set of true leaves, you can feed them with a half-strength liquid fertilizer every couple of weeks. I use a diluted fish emulsion, but any balanced fertilizer meant for seedlings works.
Repot when the roots fill the pellet. Move each herb into a pot four to six inches wide with drainage holes. Use a general-purpose potting mix, not garden soil. Garden soil compacts in pots and can carry pests. After repotting, give the plants a few days to settle before you harvest again. Then treat them like any kitchen herb: plenty of light, even moisture, and regular pinching.
If you are growing herbs mainly for tea, plant a little extra chamomile and lemon balm. They are easy, generous plants, and they dry beautifully. If you are growing for cooking, make sure basil and parsley have the brightest spot you can give them. They are the two that will miss the summer sun the most.
Nine little pellets, one sunny window, and six weeks later I had enough basil for pesto and enough chamomile for a month of bedtime tea.
Starting an indoor herb garden is not complicated. It is mostly light, water, and patience. The Planters' Choice kit gives you a clean start, and the habits you learn with those nine pellets will carry over to every plant you grow after. If you take herbs for health reasons, or if you are pregnant or caring for a child, check with your doctor or pharmacist before using herbal teas regularly. Herbs are food and flavor, but they can interact with medicines, and it is always worth asking.
Your windowsill can be growing by this afternoon
The Planters' Choice 9 Herb Indoor Window Garden Kit is a simple, honest way to start. Set up the pellets, press in the seeds, and let the sun do the rest.
Amazon Check Today's Price on Amazon →